
You can reach our RDA web client at https://archimed-rda.meduniwien.ac.at/st/rdaWeb?pid=1088.
Preferably, use Google Chrome (https://www.google.com/intl/en/chrome/browser/) or Mozilla Firefox (http://www.mozilla.org/en-US/firefox/new/) for documentation.
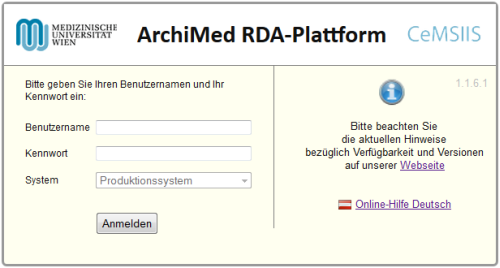
Login
After loading you will be asked to enter your username and password. If you do not know your login details, please contact us (see above).
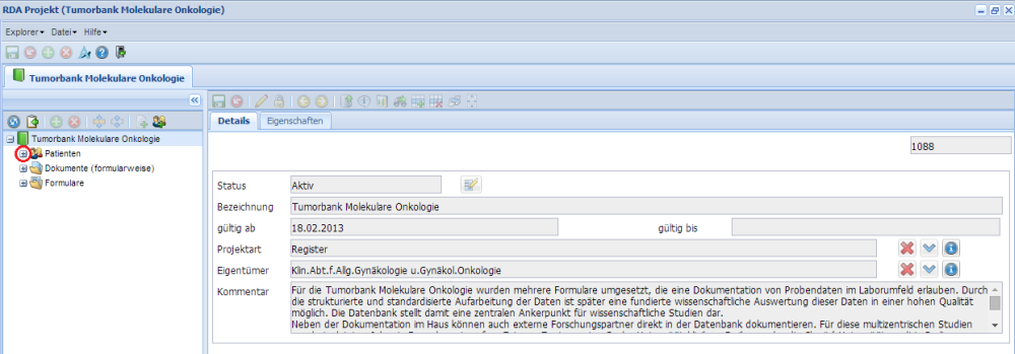
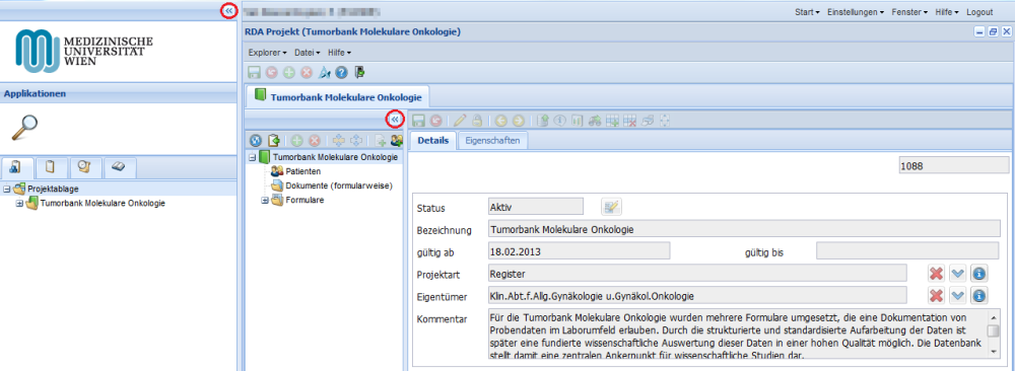
After successful login, the project window is visible (see below).
The project window
On the left hand side of the window, three folders are visible in a tree structure:
- Patienten - Patients
- Dokumente (formularweise) - Documents (order by form)
- Formulare - Forms
To view all subfolders of a folder, press the little cross icon ![]() next to it.
next to it.

The toolbars
Above the narrow left hand side window containing the three beforementioned folders, you will see the following toolbar:

The buttons are active depending on what you have selected below.
Description of the most important buttons:
 Refreshes data
 Deletes a selected document
 Creates a new document for the selected patient
 Opens the patient window where you can search for existing patients or create new patients
Above the large right hand side window, the "viewing window", the following toolbar is visible.

Description of the most important buttons:
 Saves all changes
 Discards your changes, i.e. discards a new document if you haven't saved it yet
 Changes to "edit mode", i.e. changing patient data
 Adds rows to tables
 Deletes rows from tables
Forms that are filled in are called "documents".
"Patienten" and "Dokumente" each contain all documents of your register/study, only the items within the folder are arranged differently. In "Formulare", all forms that are available within your project are visible. For basic documentation, you do not need the folder "Formulare", therefore it is not described here.
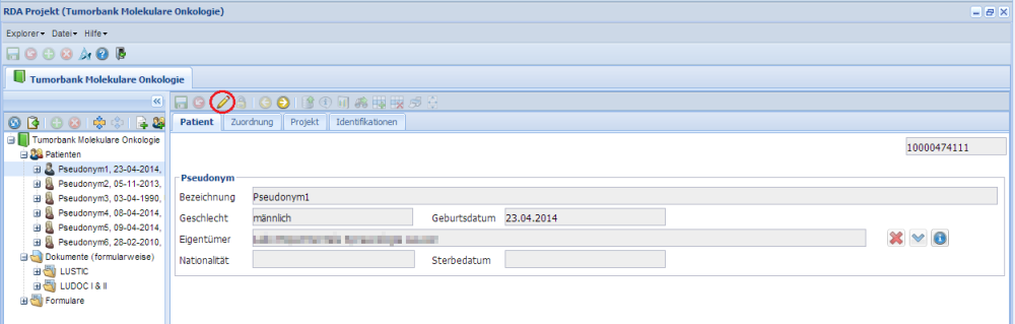
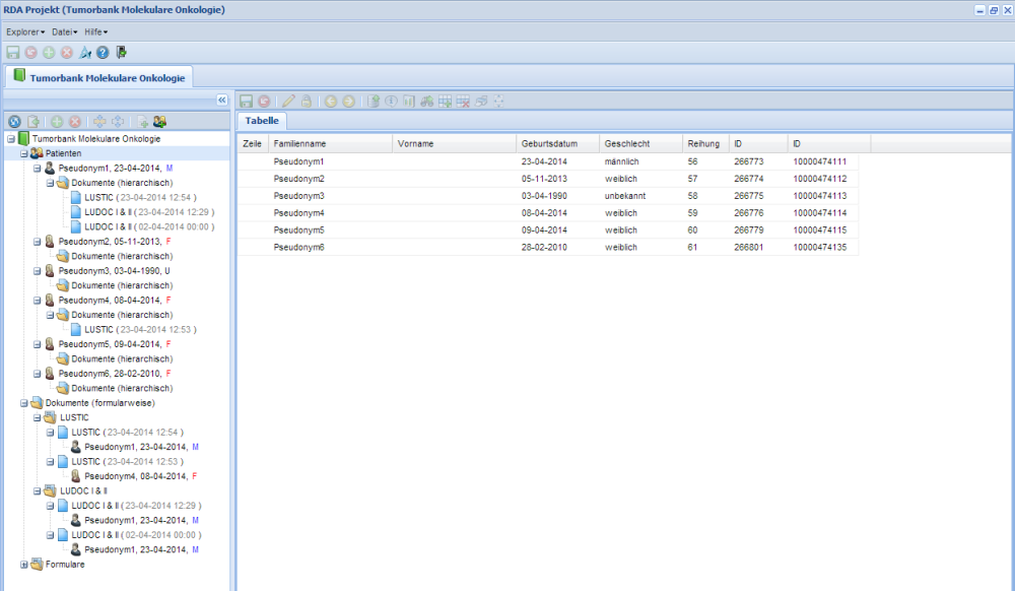
The "Patienten"-folder
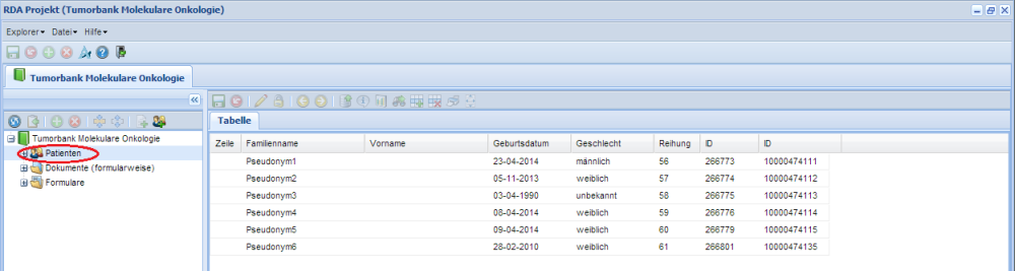
On the right hand side window, the contents depend on the selection done in the left hand side window. When selecting "Tumorbank Molekulare Onkologie", the project details are visible on the right.
Selection of the "Patienten"-folder shows you a list of all patients in this project. You can sort this list by clicking on the different headers of the rows.
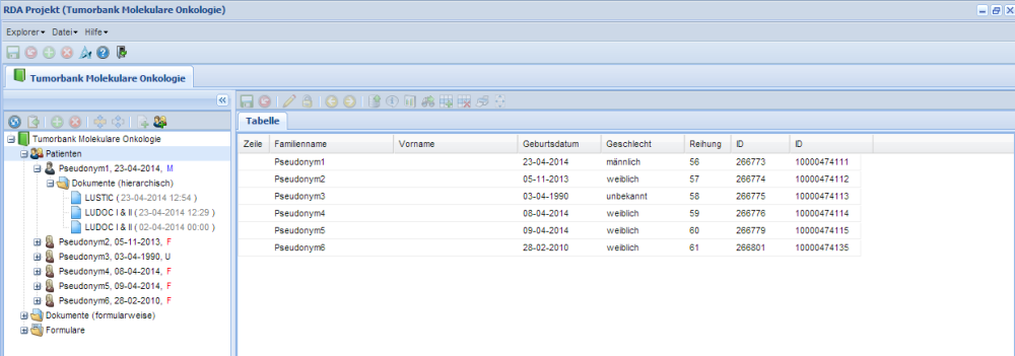
When you expand the folder of a patient, you will find a folder containing all documents of this patient.
When you need to edit the data of a patient, left click on the "Edit"-button .
As your database grows, the patients will automatically be grouped alphabetically.
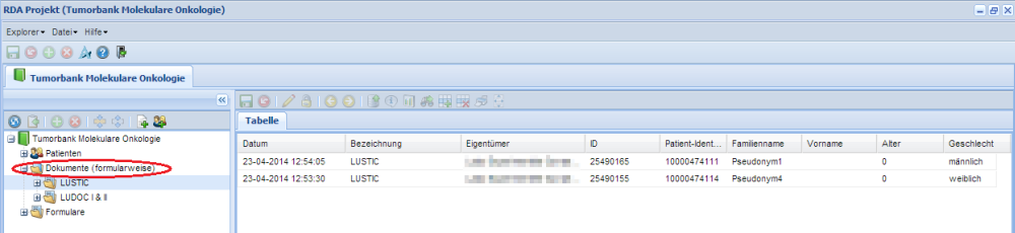
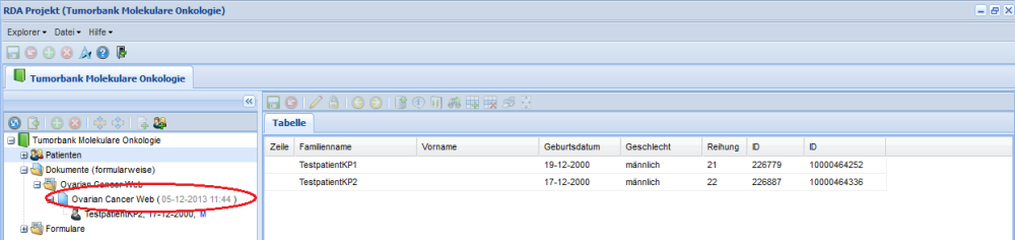
The "Dokumente"-folder
You can also find your documents in the “Dokumente”-folder. When it says "Dokumente (formularweise)" the documents are sorted by form and are arranged chronologically within the folders. By selecting a folder, i.e. "LUSTIC", a list of all LUSTIC documents will be shown in the right window.
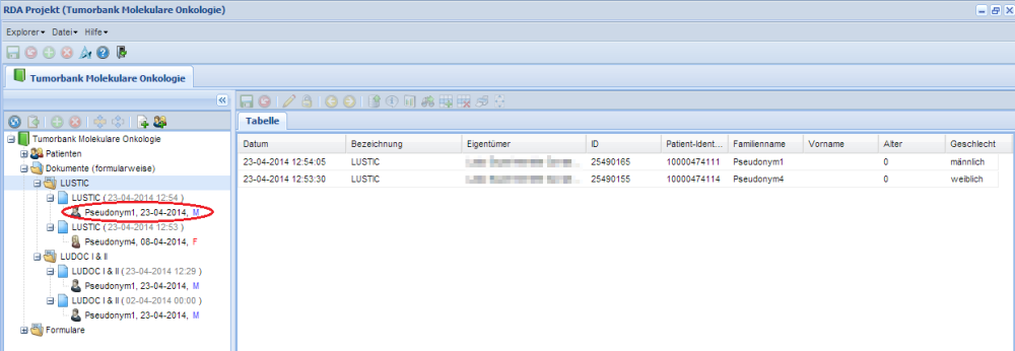
When you expand a document, the patient for whom the document was created will be visible underneath the document.
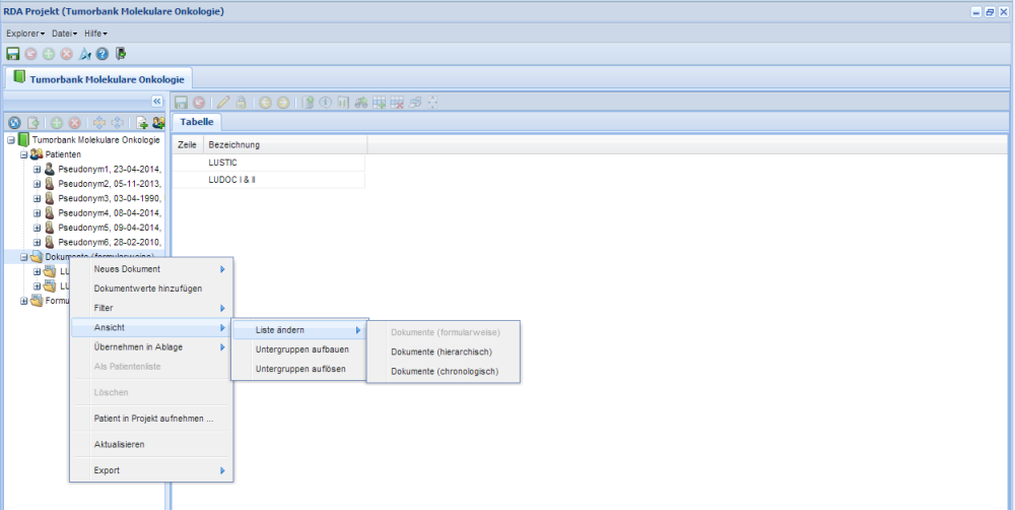
You can also change the way the documents are presented within the folder. Right-click on the "Dokumente"-folder, choose "Ansicht" (View) and "Liste ändern" (Change List). Selection of "Dokumente (chronolgisch)" (Documents (chronological order)) creates a list of all documents within the projects in chronological order. As your database grows, subfolders will automatically be created to structure your database. If you don't want subfolders to be shown, select "Untergruppen auflösen" (Remove Subfolders) in the "Ansicht"-menue.
As mentioned above, both "Patienten" und "Dokumente" hold the same documents, but they are arragned in a different view (see insert below).
You can open and close both sidebars on the left hand side window by using the arrow buttons in the top:  ,
,  .
.
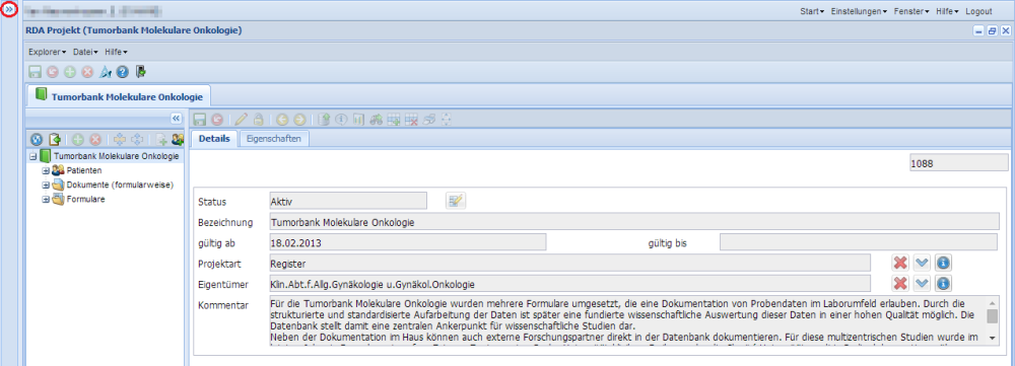
When you move the cursor over the boundaries, your mouse cursor changes to an arrow symbol and you can move the boundaries manually.
Wow to add a new patient (pseudonym) to the database
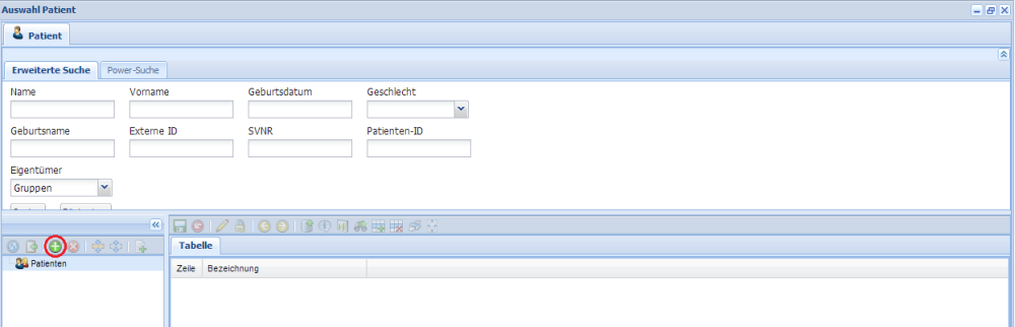
To open the patient window, click the patient button .
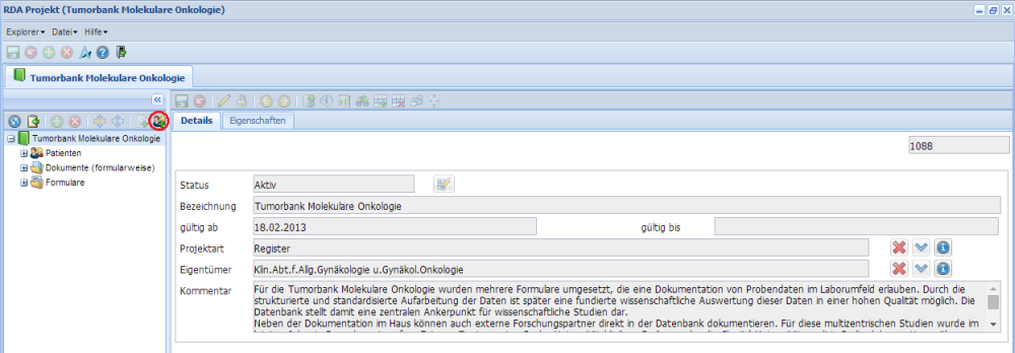
Select the "Patienten"-folder and then press the “New Patient”-Button  .
.
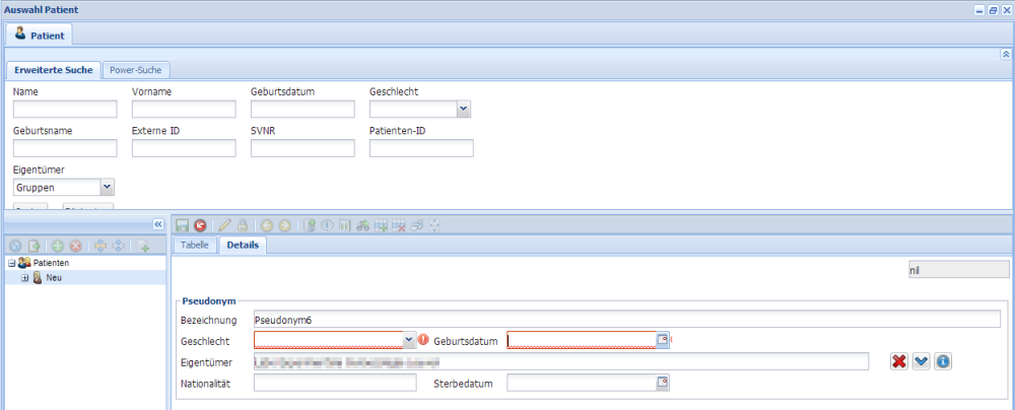
Enter the patients pseudonym into the field “Bezeichnung”(=identification).
All boxes marked red are mandatory items and need to be filled in in order to save the document: “Geschlecht” (=gender), "männlich" is male, "weiblich" is female, "unbekannt" is unknown, and “Geburtsdatum” is date of birth. At this stage the patient has not yet been assigned an ID. "Nil" serves as placeholder.
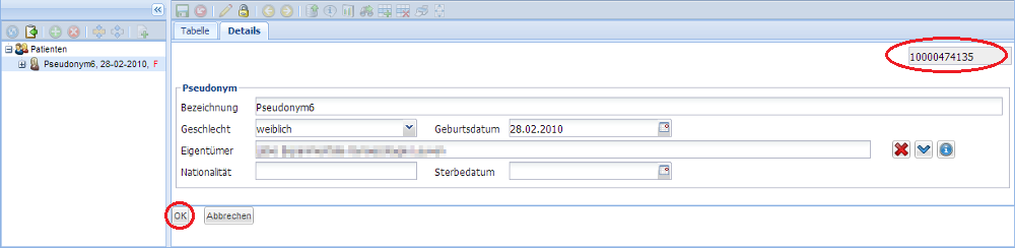
After filling in the date of birth and moving the cursor out of field, press the “Save”-button  . A unique patient ID will be assigned. Moving the cursor out of the field is important, it makes the application check whether all required fields are filled in. Otherwise the "Save"-button will not be active. After saving the patient data, the patient is available in the database but not added to the register/study yet.

To add the patient to the project, press the “Ok“-button below.
Confirm this by choosing "Ja" (yes) in the following dialogue window: “Soll Patient X in Tumorbank Molekulare Onkologie aufgenommen werden?”.

After adding the new patient to the tumour database, he/she will be visible in the “Patienten” folder of “Tumorbank Molekulare Onkologie”. As your database grows, the patients will be grouped alphabetically.
Creating a new document
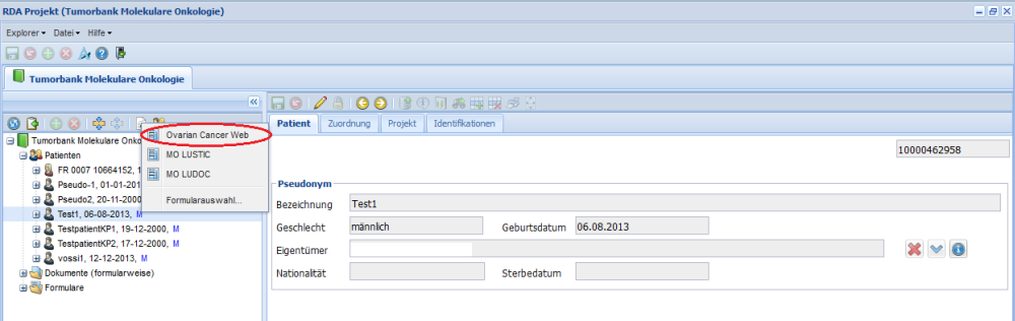
On the left side of the Tumorbank-window you will see a tree with folders named “Patienten”, “Dokumente” and “Formulare”. Open the “Patienten” folder and locate the patient whose data you wish to enter. Select the patient with a single left-click and press “Neues Dokument“  in the toolbar above. Alternatively, you can also right-click on the patient. You will also find “Neues Dokument“. From the list of available forms, choose the form you wish to fill in.
After choosing the form a new document is created. You can save by pressing the “Save”-button .
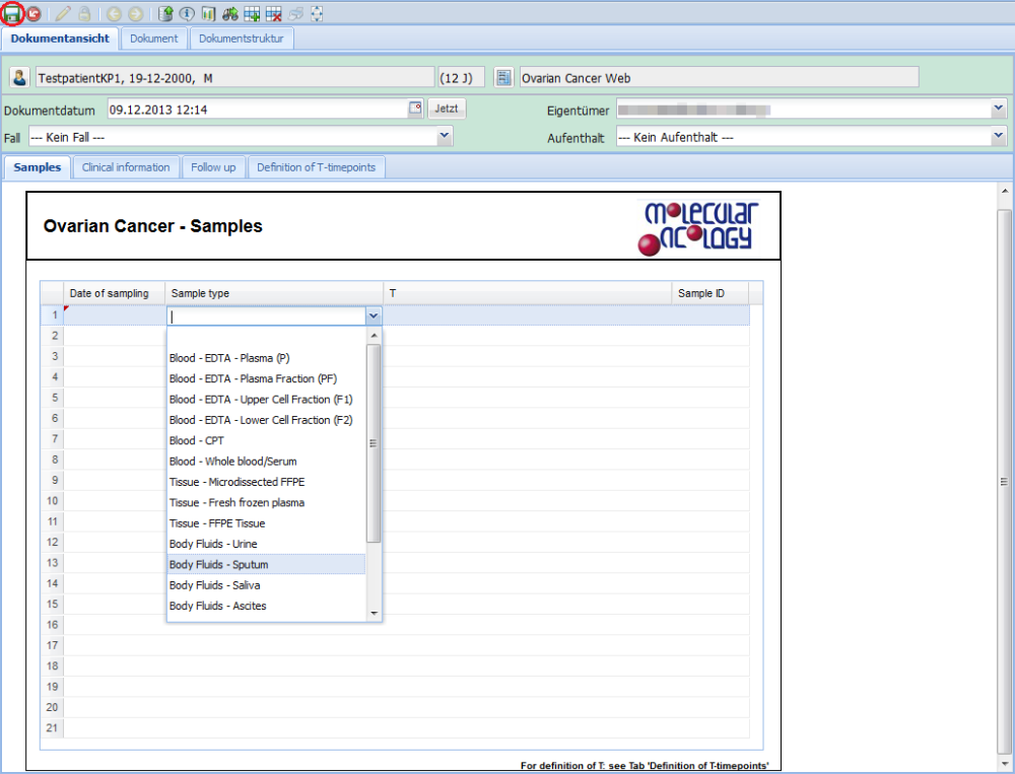
How to fill in the forms
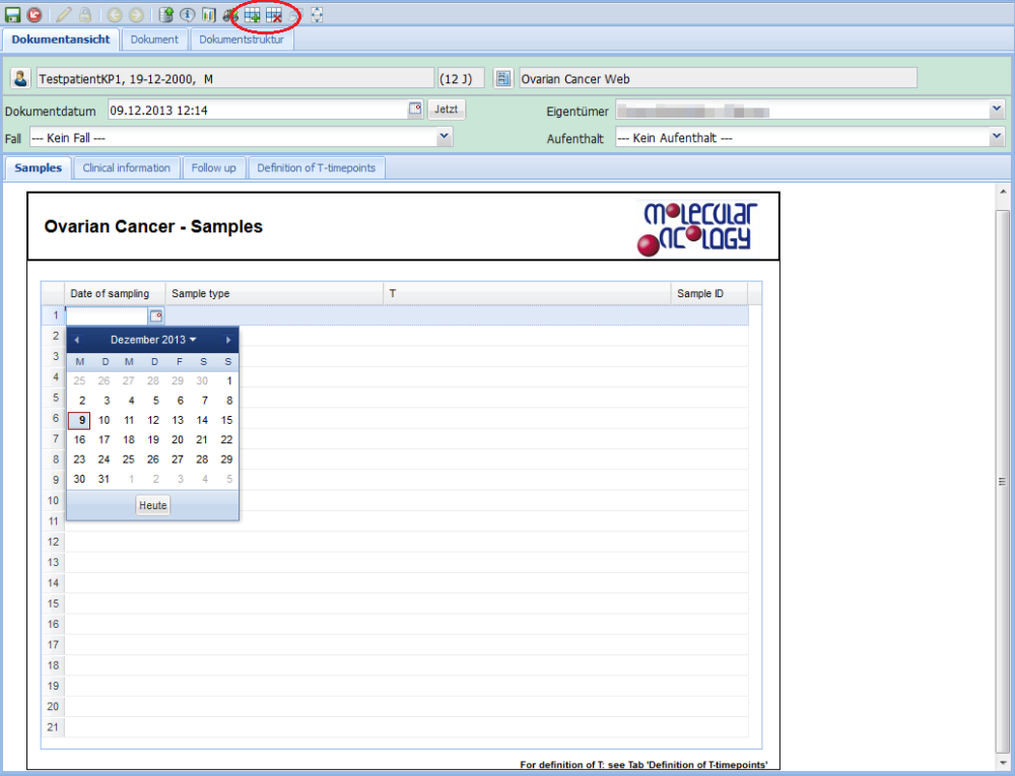
Some forms contain several pages/tabs. You can switch between pages by using the tabs on top of a form (i.e. Samples, Clinical information, Follow up, Definition of T-timepoints).
There are different kinds of boxes/fields:
- text boxes
- numeric boxes
- selections lists
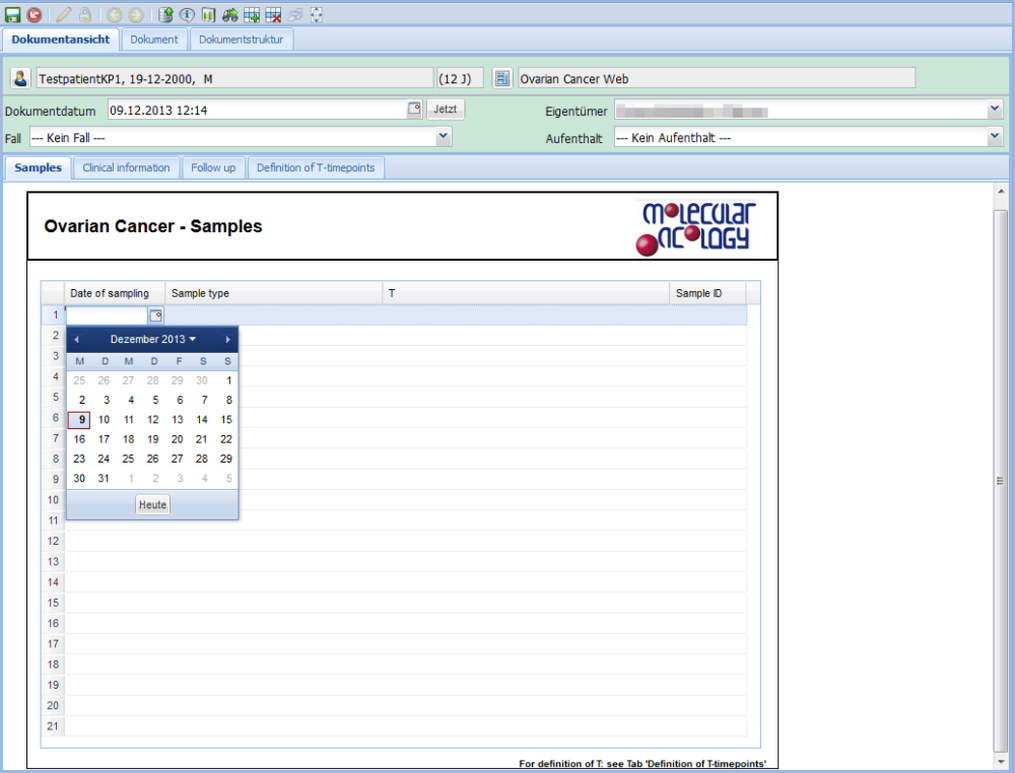
- date fields
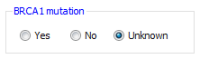
- radiobuttons
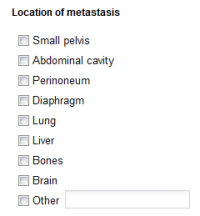
- checkboxes
- tables
In a text box you can type any text you want. In numeric boxes you can only fill in numbers.
Selection list offer you standard values. You can choose a value using your mouse or the arrow keys.
For date fields, a pop-up calendar is available. Or you may type in the date instead, order dd.mm.yyyy.
Click on check boxes to tick them. You can also press the space bar with the cursor in the box.
With radio buttons, only one value can be selected ("one choice"). Once you filled in a radio button, it cannot be unselected.
Tables hold various types of fields (i.e. text, numeric, date and so on). You can add rows by selecting the table and pressing the “Add rows”-button ![]() . Deletion can be done by pressing the “Delete rows”-
. Deletion can be done by pressing the “Delete rows”- ![]() . Those buttons are located in the tool bar above.
. Those buttons are located in the tool bar above.
How to find documents
You can find a document either via the patient it was created for or via the name of the form and the document date.
Find a document using the patient data
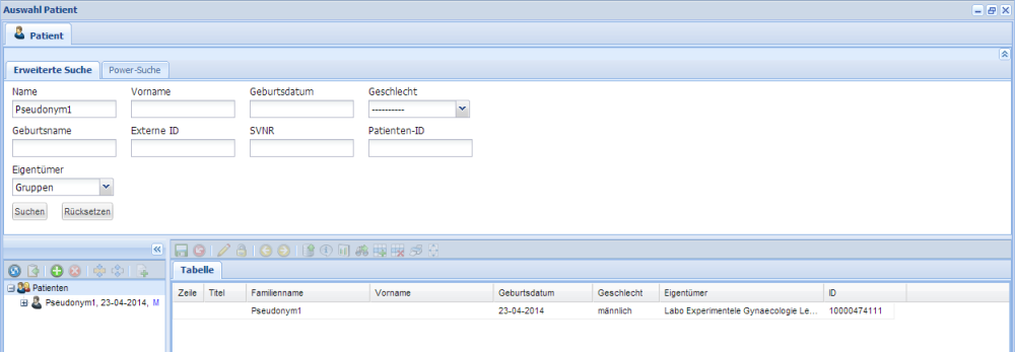
In the "Patienten"-folder, all patients are listed alphabetically. Search for patients in the patient window. Open it by clicking on  . In the upper part of the patient window, you can look for patients using their pseudonym or date of birth.
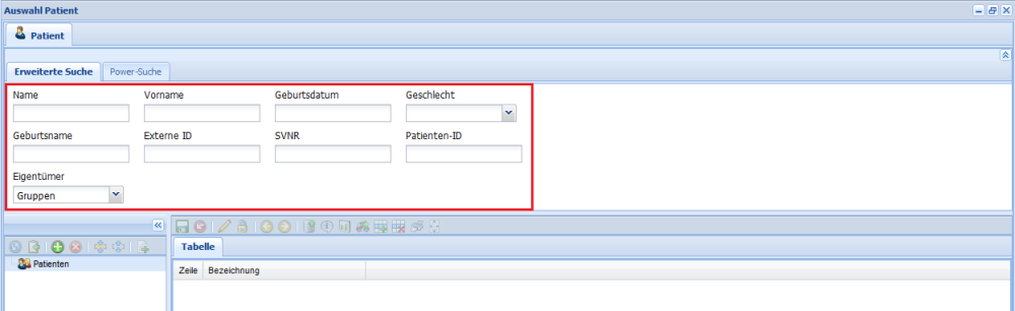
Insert the name of the patient into the "Name"-field and hit enter. All patients found are visible in the bottom part of the window. You can use %-Symbols when you know only part of the name, i.e. "Pseu%".
Find a document using the entry form name and the document date
Expand the "Dokumente"-folder. As default, the documents are visible in subfolders. Within the folders, the documents are in chronological order. When you select the folder of the form in the left part of the window, all documents within the folder are visible on the right hand side. You can sort those documents by clicking on the row headers. Double-click on the document will open the selected document.